
Use this post-renovation cleaning checklist for Singapore homes to agree who handles each task before the handover.
What belongs on a post-renovation cleaning checklist?
Confirm that dust-producing work is finished, identify surface-care restrictions, agree who handles debris and specialist tasks, then work through accessible surfaces, storage, floors and affected soft furnishings. Inspect the result before unpacking. A useful checklist assigns each task and its limits; it does not assume that one cleaning company handles every part of a whole-unit handover.
A renovation can look finished while cleaning responsibilities remain unclear. The contractor may have removed large debris but left fine dust, while a booked specialist may be attending only to sofas or curtains. Start by separating those jobs before agreeing that the home is ready for furniture and belongings.
This checklist is for planning a Singapore HDB, condo or landed-home handover. It is not an instruction to dismantle fittings, work at height or apply strong chemicals to unidentified residue. Keep those tasks with the appropriate contractor or specialist and follow the instructions for newly installed materials.
1. Check the handover conditions before booking
Confirm which work is complete and whether more drilling, cutting, sanding or touch-ups are planned. If a dusty task remains, agree whether the clean should be moved or whether a clearly defined follow-up is needed. A newly cleaned room can be affected again when work restarts.
Ask the renovation contractor for care and curing instructions for paint, sealants, flooring and other new finishes. “The renovation is complete” is not the same as permission to wet-wipe, scrub or place furniture on every new surface. Record any areas that should be left alone and when they can be revisited.
Also confirm access arrangements. In a condo, discuss the building’s lift and delivery arrangements with management. For any property, identify where equipment can be brought in and where belongings or waste may be placed. These practical details should be agreed for the actual site rather than assumed from the flat type.
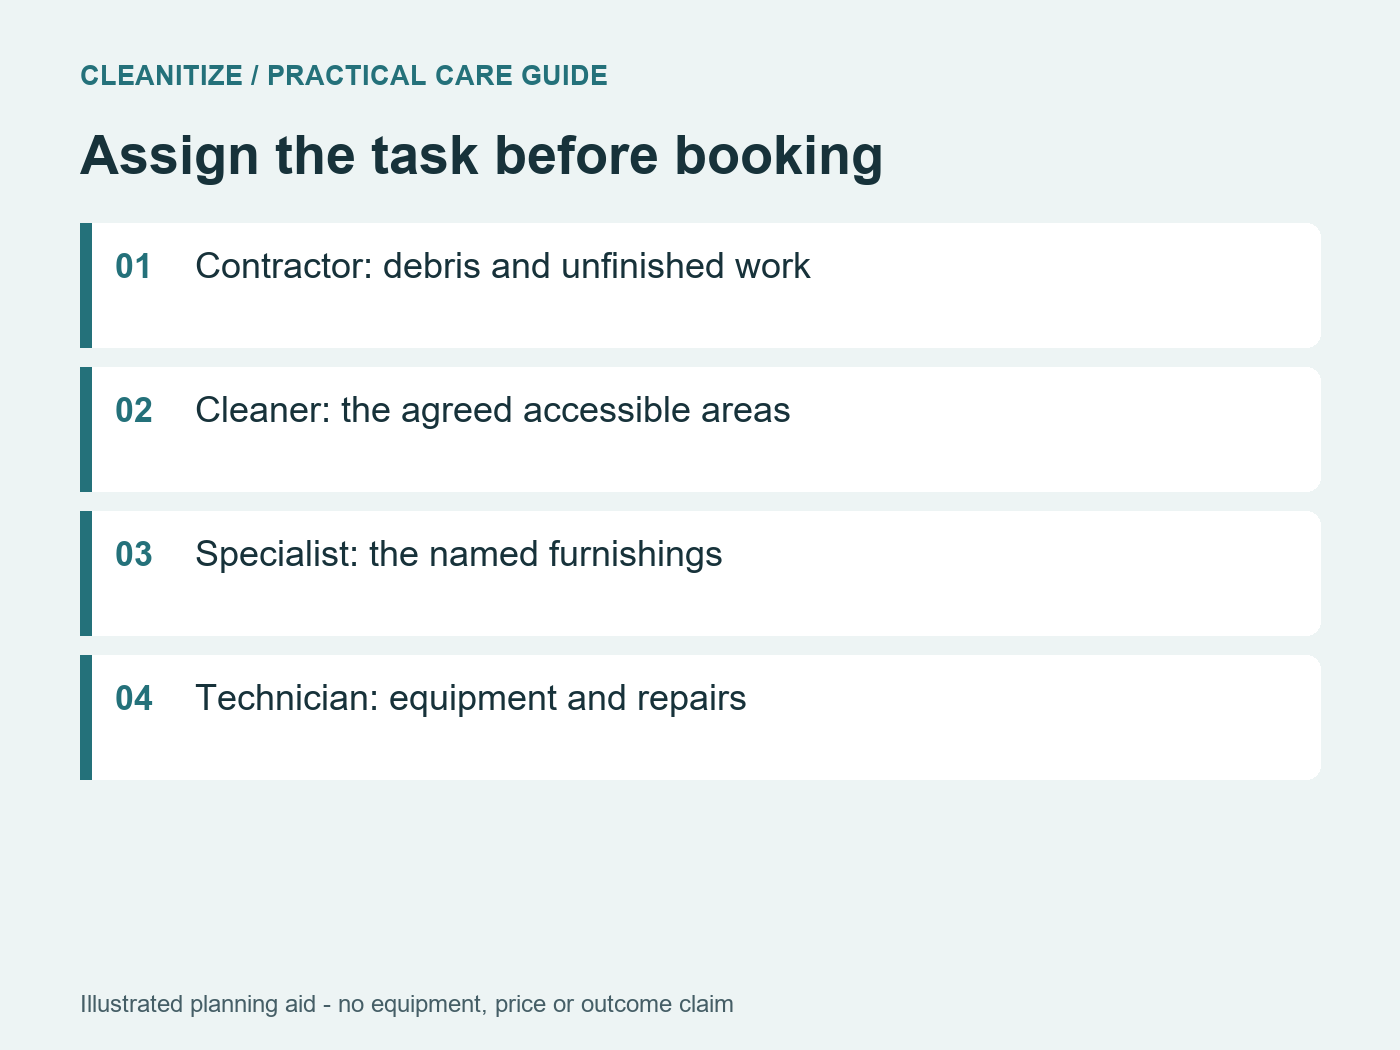
2. Assign the jobs before comparing quotes
| Work area | Question to settle | What not to assume |
|---|---|---|
| Renovation debris | Who removes leftover materials and waste? | That a cleaning appointment includes construction-waste removal. |
| New finishes and residue | Who identifies the material and approves the removal method? | That every paint mark, cement spot or coating is safe to scrape. |
| Accessible hard surfaces | Which rooms, storage interiors and fittings are included? | That a whole-unit checklist is the same as the booked service scope. |
| Soft furnishings | Which sofas, mattresses, rugs or curtains were exposed? | That dusting the room also cleans the fabrics. |
| Specialist equipment and fittings | Which work needs a qualified technician or another service? | That ordinary cleaning includes dismantling electrical or air-conditioning components. |
Cleanitize’s post-renovation service page explains that its focus includes affected upholstery and soft furnishings. Use that stated scope when planning the appointment. Cabinet cleaning, construction debris or specialist repair work should be confirmed separately rather than added to the expected service by implication.
3. Prepare the home for a controlled clean
Keep loose belongings out of areas that still need cleaning. Empty accessible cupboards where their interiors are included, and identify any delicate or newly fitted surfaces. Take photographs of existing marks and unfinished work so a cleaning problem is not confused later with a defect or earlier damage.
Choose equipment that is suitable for the work. Check that a vacuum and its filtration and collection system are permitted for the dust involved; do not assume that any household machine can handle renovation debris. Follow product labels and surface instructions, and keep equipment away from damaged fittings or water.
Arrange safe access to the areas being cleaned. Leave unreachable ledges, outside glazing and work requiring dismantling to the appropriate service. A checklist should make exclusions visible, not encourage unsafe improvisation to tick every box.
4. Review accessible surfaces from higher areas down
A practical room sequence reduces the chance of disturbing dirt onto an area that has already had its final clean. Identify accessible upper ledges, door tops, cabinet exteriors and other horizontal surfaces before moving down to lower surfaces and floors. Keep each material’s care instructions in view.
Include edges and recesses that are easy to miss during a quick visual check. Look at skirting, reachable tracks and the tops and sides of doors. Avoid pushing tools or moisture into sockets, switches or equipment openings. Any damaged or uncertain fitting needs assessment rather than a more forceful clean.
If fine dust repeatedly returns, record where it appears and what work has happened nearby. Cleanitize’s separate article on renovation dust returning after cleaning addresses that investigation. Repeated dust is a reason to review the source and sequence, not automatic proof that another fabric-cleaning visit is required.
5. Check storage before filling it
Where the agreed scope includes storage interiors, inspect shelves, drawers and cupboard corners before packing. New storage can conceal dust that is less obvious when the doors are closed. Confirm which removable parts may be moved and which finishes need a restricted cleaning method.
Do not load clothing, kitchenware or bedding into an area simply because its exterior looks clean. Inspect the interior and allow surfaces to reach the condition required by their care instructions before use. Keep any persistent residue or damaged finish on a separate issue list for the contractor.
6. Include the fabrics that were actually exposed
List the soft furnishings that remained in or passed through the work area. A sofa under a cover, a mattress in an adjacent room and curtains near a work zone can present different inspection and handling questions. Note the material information, covers used and visible condition without assuming that every item requires the same treatment.
For a sofa, identify any removable covers and their labels before treating them. The sofa and upholstery service information provides the relevant service context. For rugs, use the carpet and rug service information to distinguish fitted flooring from loose items. Confirm suitability and arrangements for the particular furnishing.
Leave enough time for any treated item to be ready for its intended use. Ask what needs to be moved, how access will be managed and how return to use will be assessed. A move-in date should be discussed alongside the treatment plan rather than used to assume a guaranteed drying time.
7. Finish with an agreed inspection
Walk through the included areas with the written scope. Check accessible corners, edges and storage interiors as well as the centre of the room. Use an appropriate surface check only where its care instructions allow it; do not test a delicate finish by rubbing it aggressively.
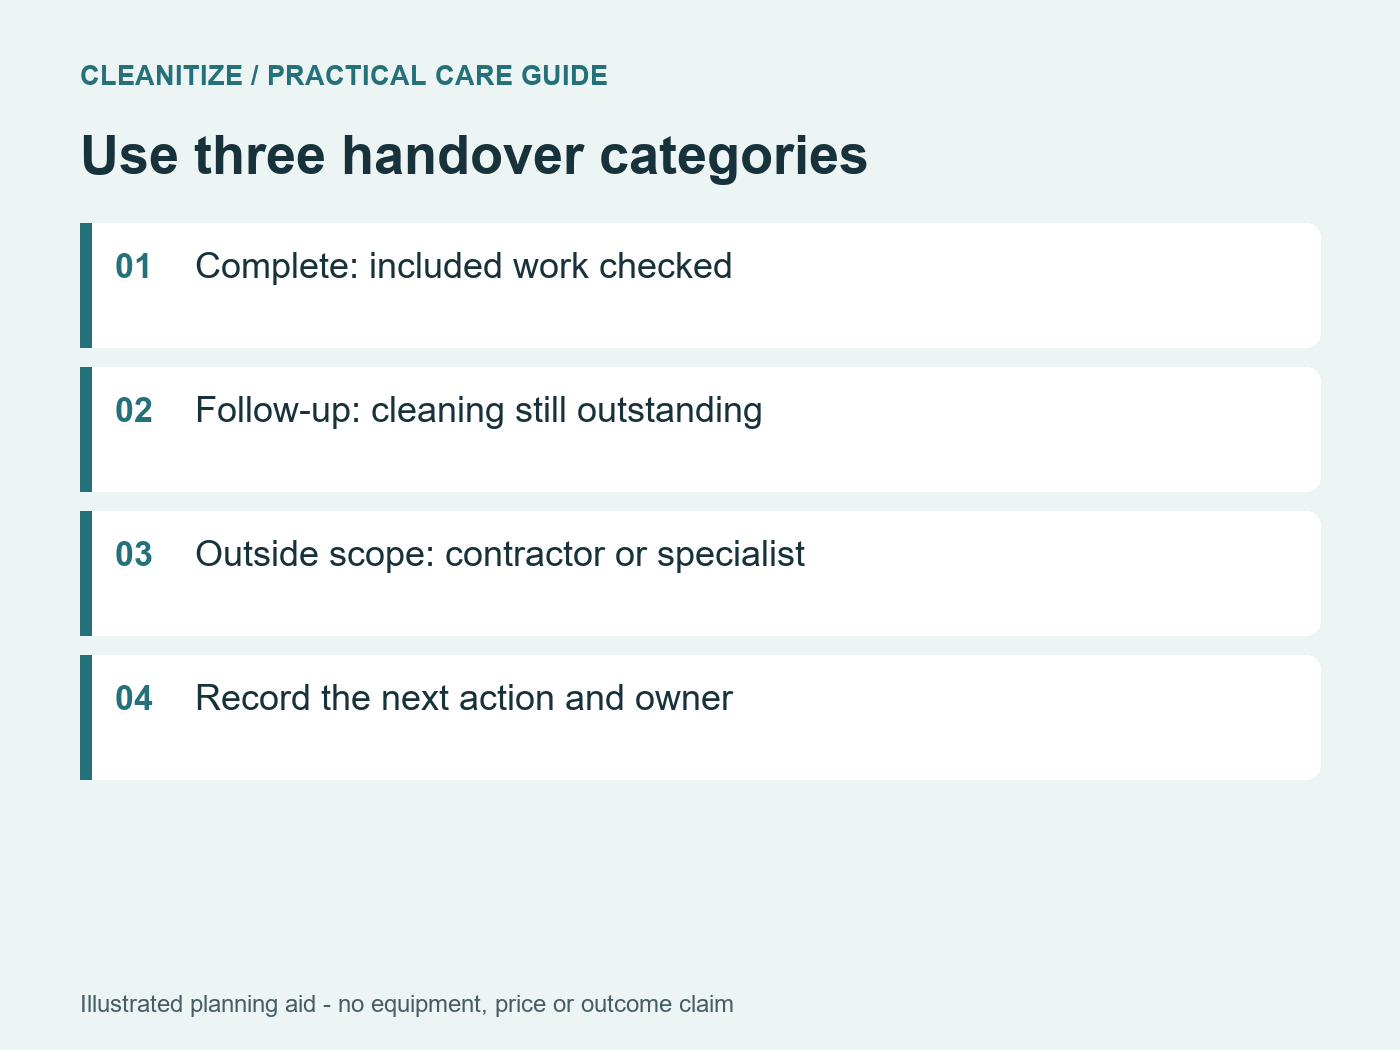
Keep three categories separate: cleaning that is complete, cleaning that needs follow-up, and defects or specialist tasks outside the cleaning scope. For every open item, record the location, a photograph where useful, the responsible party and the next agreed action. Avoid turning an unfinished contractor task into an unsupported complaint about a cleaner.
Unpack in stages once the relevant areas are ready. If more work is scheduled, agree how cleaned items will be protected and whether a later review is needed. This makes the handover plan more useful than a single blanket statement that the entire home is “dust-free”.
Questions to ask before the appointment
- Which exact rooms, surfaces and items are included, and which are excluded?
- Who is handling debris, residue identification and unfinished contractor work?
- What care instructions or material information should be supplied?
- Does any task require moving furniture, dismantling equipment or separate specialist access?
- How will drying, inspection and any follow-up fit the move-in plan?
Post-renovation cleaning FAQ
Should cleaning happen before furniture arrives?
Where practical, assess and clean the included areas before they become difficult to access. The right sequence still depends on remaining works, material-care restrictions and the furnishings that are already present. Confirm the actual handover plan.
How long should I wait after renovation before cleaning?
There is no single waiting period for every finish and project. Confirm that dust-producing work has stopped and follow the contractor’s and manufacturers’ care and curing instructions. Do not replace those instructions with a generic number of days.
Does post-renovation cleaning include the entire unit?
Only if that is the agreed scope. Some providers specialise in particular tasks or furnishings. Check the written inclusions and exclusions, including storage interiors, windows, waste and any specialist work, before treating the quote as a whole-unit handover.
Can cleaning remove every paint or cement mark?
Do not assume so. The material, type of residue and condition of the finish must be assessed first. Some marks or defects may need the renovation contractor or another specialist, and an unsuitable removal method can create a new problem.